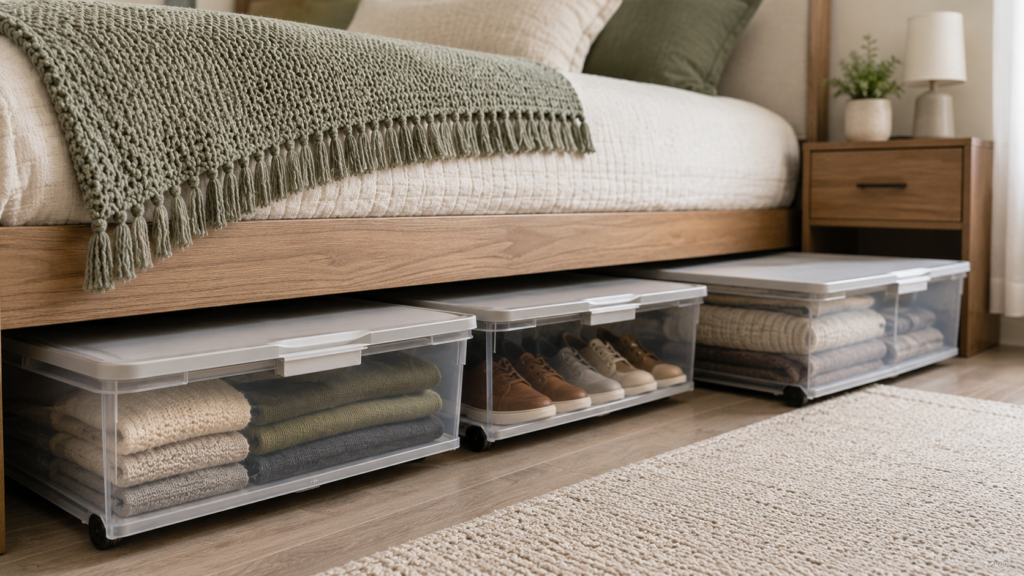
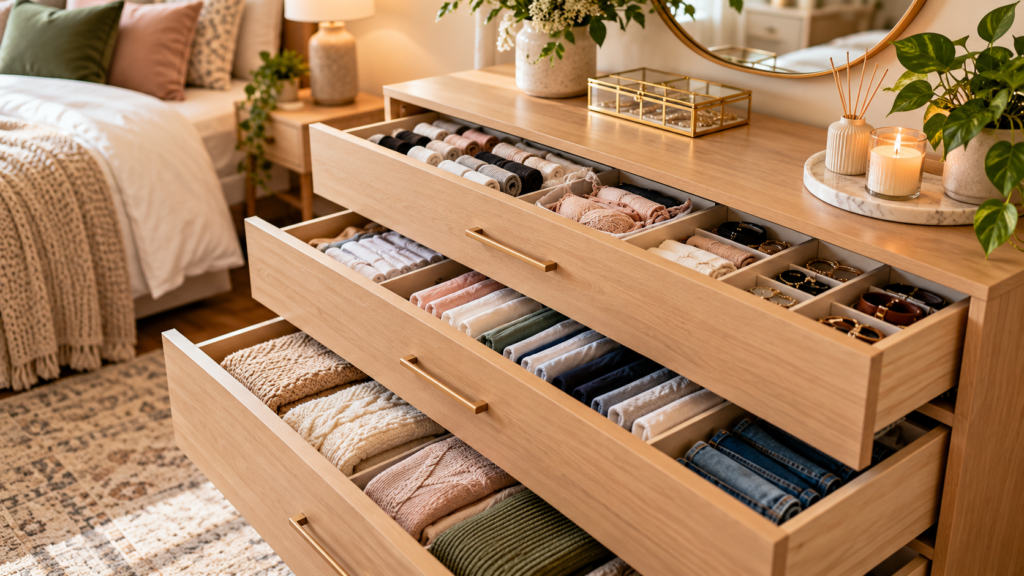
Start with one drawer: The most useful bedroom dresser drawer organization ideas make a clean laundry load fit as easily as the clothes already inside. Measure the usable space, test one folding method, and add a divider only when it solves a specific problem. This guide covers clothing inside drawers; use our complete dresser organization guide for the dresser top and the surrounding bedroom station.
A drawer can look organized while half its clothing is in the wash, then overflow on laundry day. Plan for the full category, including items being worn or washed. You do not need matching containers or a fixed percentage of empty space.
Table of Contents
- Measure and test one drawer
- Choose folding, dividers or bins
- Sort the full category
- 12 practical drawer decisions
- Allocate drawers by reach and load
- When a small dresser is full
- Diagnose recurring problems
- Check the laundry-day reset
- Furniture safety
- Frequently asked questions
- Your next step
Build and Test One Drawer Before Repeating the Layout
- Measure the inside base: note clear width and depth, including intruding hardware. Organizer listings may give internal compartment dimensions rather than the outside footprint you need.
- Check closed height: the frame above the drawer can reduce usable clearance. Put a representative folded garment inside and close gently; stop if it catches or rubs.
- Check the exposed area: a drawer that only opens partly has a less accessible rear zone. Reserve the reachable area for the items you use often.
- Test a full category: include clean laundry that normally returns here. Take out one middle item and put it back without rebuilding the row.
- Test movement: open and close gently a few times. Add support only where clothing collapses or categories migrate. Never force a tight divider into place.
A worked capacity estimate
Illustrative planning example, not a tested dresser: a drawer has a clear base of 62 × 40 cm. Two lanes of folded shirts, each 28 cm wide, plus a 1 cm divider use 57 cm of width, leaving 5 cm. If 36 cm of the depth is available for the row and a representative upright shirt occupies about 3 cm of depth, the rough estimate is 12 shirts per lane, or 24 total.
That estimate is only a starting point: garment thickness varies and compressed measurements can overstate capacity. Load the actual clothes without squeezing. If 18 shirts are already inside and 6 are returning from the wash, plan for 24, not 18. If 26 must live here, move two to another appropriate location or allocate more drawer space. Do not assume a tighter fold will solve every capacity problem.
Choose the Simplest Method That Solves the Problem
Scroll sideways to read the full table.
| Method | Useful when | When to change approach |
|---|---|---|
| Upright rows | Folded shirts are stable and visible from above | Rows collapse or garments exceed closed clearance |
| Short flat stacks | The garment does not hold an upright fold | Removing a lower item disturbs the whole stack |
| Adjustable dividers | Two categories drift together or rows need support | They bow the sides, obstruct movement or leave unusable narrow strips |
| Small removable bins | Socks or loose accessories spread across the drawer | Thick bin walls consume needed space or the loaded bin catches |
| No insert | Broad categories already stay separate | Repeated mixing makes retrieval or putting away difficult |
No folding method is compulsory. Try the method on one drawer before buying a full set of organizers.
Sort the Full Category Before Dividing the Space
Empty one drawer at a time. Group clothes by their actual use: everyday tops, sleepwear, exercise clothes, underwear or socks. Set aside items that belong elsewhere and decide what to do with damaged or unwanted pieces.
Then account for the category that is missing from the drawer because it is being worn or washed. If that full amount does not fit comfortably, decide where the overflow belongs before adding bins. Dividers separate space; they do not create more of it.
12 Bedroom Dresser Drawer Organization Ideas to Choose From
1. Give Each Drawer a Defined Job
Assign broad categories so clean clothing has an obvious destination. A drawer does not need equal-sized sections: give the category you own most of the space it actually requires.
2. Try Upright Folding on One Suitable Category
Test several shirts before refolding everything. Check visibility, stability and closed height. Keep a simpler flat fold for garments that will not stay upright or need different handling under their care instructions.
3. Add a Divider Only Where Movement Occurs
If socks migrate into underwear, separate those categories. If an entire row stays in place without support, leave it alone. Check the divider’s adjustment range and padded ends against the drawer maker’s guidance.
4. Contain Small Accessories in Shallow Bins
Use bins for loose fabric accessories or small pouches that would otherwise disappear under clothes. Check the loaded outside height and allow access to the rear bin. A bin that fits empty may fail once filled.
5. Put Frequent Clothing Within Comfortable Reach
Choose the drawer you can use comfortably rather than automatically assigning daily items to the top. Keep heavier items lower, following the safety guidance below; do not trade stability for convenience.
6. Sort by Clothing Type Before Color
First separate garments you use for different purposes. Sort by color within a category only if it helps you choose. A system should still function when a laundry load is returned without color sorting.
7. Give Socks and Underwear Enough Return Space
Test the full clean supply. Broad compartments may work better than one cell per item, especially when pairs vary in size. If removal requires pulling several items out, reduce crowding or enlarge the zone.
8. Keep Bulky Clothing Out of Shallow Drawers
Move garments that rub the frame or block closing to more suitable storage. For occasional clothing, our seasonal clothing storage guide covers rotation rather than compressing the everyday drawer.
9. Separate Small Dressing Essentials from Loose Jewelry
Loose watches and chains should not disappear into clothing piles. Use a distinct suitable location; our jewelry drawer guide explains insert fit and protective separation. Keep unrelated papers and charging cables elsewhere.
10. Judge Spare Room by Retrieval
Remove an item from the middle, then return it. If neighboring clothes must be compressed or refolded, the layout is too tight. Use this practical test instead of an arbitrary rule to leave a particular percentage empty.
11. Keep Worn-Once Clothing Separate
Choose a limited location outside clean-clothing drawers for pieces awaiting a wear-again or wash decision. A small dedicated zone should not become permanent overflow for clothes that never fit in the dresser.
12. Label Only Where People Need Guidance
If another person puts laundry away, use plain category labels on the inside edge or removable containers. Test whether the labels remove confusion before dividing categories into smaller and smaller groups.
Allocate Drawers by Reach, Garment Size and Load
Start with the category used most often in a comfortable reachable drawer. Place heavier items lower and keep within each drawer’s manufacturer-specified load limit. Assign smaller zones only after testing the full amount of clothing.
A three-drawer dresser might use one drawer for socks and underwear, one for lightweight everyday tops, and one for sleepwear or heavier clothing that fits. This is a starting arrangement, not a universal plan. Change it for your reach, garment sizes and drawer depths. Do not put heavy objects high simply because that drawer has spare space.
When a Small Dresser Is Already Full
Check whether each category really needs drawer storage. Move a suitable hanging category to a wardrobe, rotate genuinely seasonal pieces, or reduce a category you no longer use. Use our small bedroom organization guide to coordinate the wider room.
Do not solve a shallow-drawer problem with taller bins. In a deep drawer, an upper tray is useful only if you can lift it comfortably and the lower contents are not needed repeatedly. Hidden daily clothing simply creates another retrieval problem.
Diagnose the Problem Before Buying Another Organizer
- Drawer jams: remove contents and check for protruding clothing, inserts or visible obstructions. Do not force it or alter hardware to fit a bin. Refer damaged runners or stops to the furniture instructions or a repair professional.
- Rows collapse: try a shorter row or support at the end, rather than making every compartment tighter.
- One category overflows: give that category more space or move part of it; color sorting will not fix insufficient capacity.
- The rear is never used: store less-used items there only when you can still retrieve them safely.
Use Laundry Day as the Maintenance Check
Return a normal clean load without rebuilding the drawer. Refold displaced pieces, remove unrelated objects, and note any category that no longer fits. If a problem returns after each wash, change its space allocation or simplify the fold. A quick visual reset is useful; repeated complete reorganization is a sign the layout needs adjustment.
Dresser Safety Comes Before Storage Capacity
The U.S. Consumer Product Safety Commission’s Anchor It! guidance advises securing furniture using the manufacturer’s instructions and removing objects that may tempt children to climb. Its tip-over prevention advice also recommends storing heavier items lower.
Lower placement does not replace anchoring. Follow the dresser’s anchoring and load instructions, keep drawer stops intact and address instability or damaged hardware before reorganizing. Do not climb on drawers or use an open drawer as a step.
Frequently Asked Questions
Do drawer organizers increase clothing capacity?
They can make space easier to use, but their walls also occupy room. Compare the loaded layout with a simple fold before purchasing a set.
How do I know whether vertical folding will work?
Test representative garments for height, stability and easy removal. Keep a different fold for clothes that fail those checks.
How much space should I leave empty?
Enough to remove and return individual items when the full clean category is present. No fixed empty-space percentage suits every wardrobe.
Why is the drawer tidy until laundry day?
The layout may have been planned around only part of the category. Include clothing being washed or worn when estimating the space required.
Your Next Step
Choose one drawer, measure its clear space and test the full clothing category. Keep the method that passes closing, retrieval and laundry-return checks. Repeat it elsewhere only after it works in that first drawer.