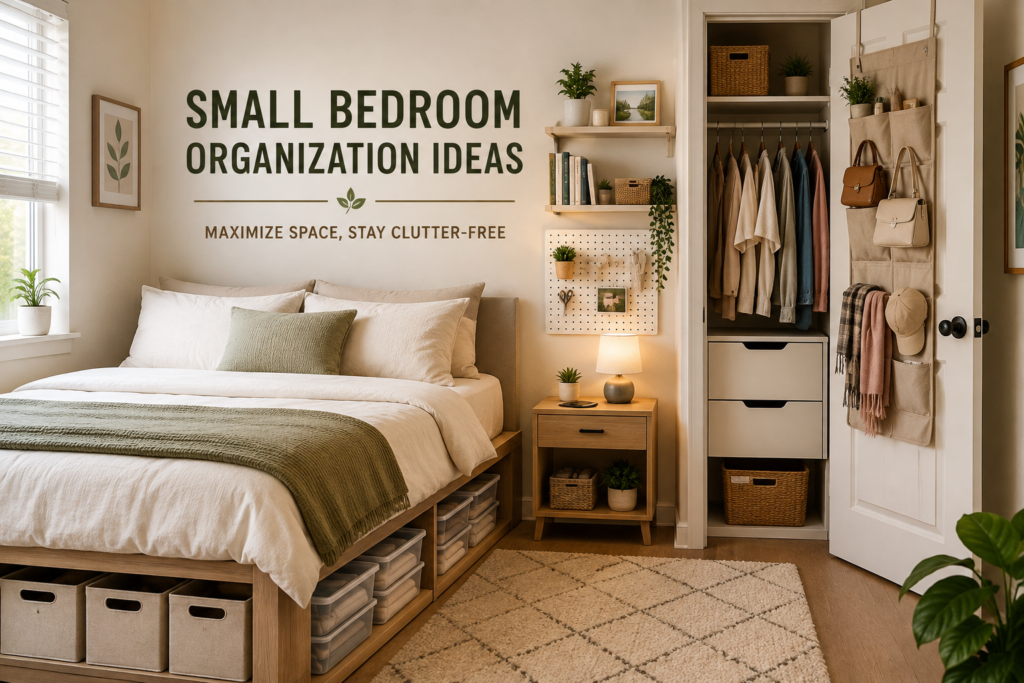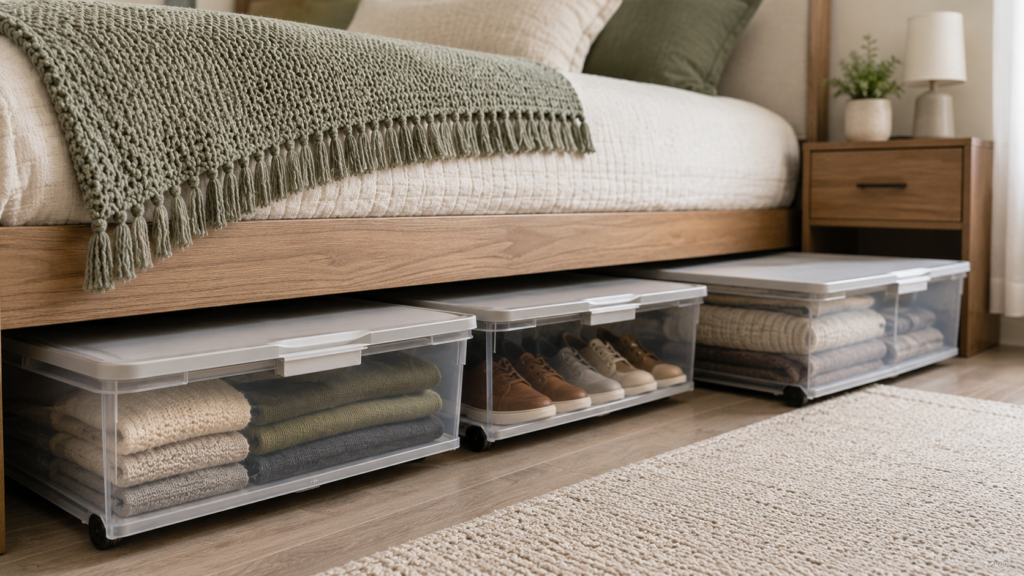
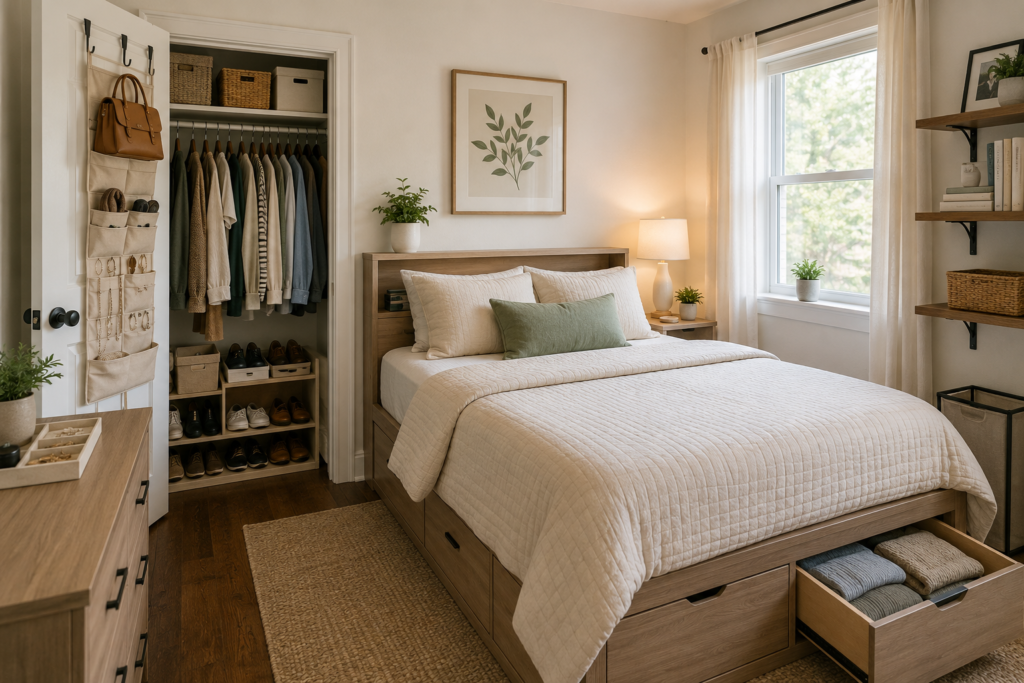
A small bedroom can have enough storage and still collect clothing, chargers and bags on every surface. This guide tackles that daily clutter using storage you already own. Its outcome is a clear walking route, a usable bedside surface and one predictable home for the belongings you use most.
If you need to choose furniture or add storage capacity, use our small bedroom storage and layout guide. The steps below are a no-buy reset, rather than a second list of furniture and organizers.
The 12-Step No-Buy Bedroom Reset
1. Choose one visible finish line
Choose a result you can check: the chair is available for sitting, the bedroom door opens fully, or the bedside drawer closes. Start with one. “Organize everything” makes it difficult to know when to stop.
2. Clear the route before opening drawers
Remove belongings from the path between the door, bed and wardrobe. Move them to a temporary sorting surface without creating another obstruction. Keep access to windows, heating and ventilation clear.
3. Separate things that belong elsewhere
Use an existing bag or box to collect dishes, paperwork and objects belonging in other rooms. Deliver them to their actual homes before you start reorganizing bedroom storage. Otherwise, the return box becomes a permanent new pile.
4. Make a decision about each loose garment
Separate clothing that needs washing, clean clothing ready to put away, and clothing you have checked and intend to wear again. Do not decide only by how many times you wore it. Our clothes-between-wears guide explains how to create a limited rewear zone.
5. Write down what caused the pile
For your five most commonly misplaced items, record why they stay out. “Drawer is full,” “charger is used here,” and “bag shelf is too high” point to different fixes. Buying a basket will not solve all three.
6. Reassign one easy-to-reach space
Give a daily item a more convenient location by moving an occasional item elsewhere. For example, spare gift bags can leave a top dresser drawer so everyday socks fit. Confirm the occasional items have a named destination; do not relocate clutter into an unidentified box.
7. Reduce the contents of one crowded drawer
Choose the drawer blocking your routine. Remove its contents, separate categories and return only the items assigned to that drawer. Use clean boxes you already own as temporary dividers if they fit without preventing closure.
8. Give small essentials a return point
Choose one existing shallow dish or drawer section for glasses, a watch or other daily essentials. Group items by where you use them. A bedside return point should contain nighttime items, rather than becoming the home for every small possession.
9. Keep the current reading material together
Keep the book you are using near the bed and return the rest to their shelf. If a stack is difficult to move when cleaning, it is too large for that location. Do not turn the nightstand into a second general bookshelf.
10. Separate storage from charging
Give unplugged spare cables a drawer location. Keep equipment in use on a suitable surface with ventilation and follow its instructions. A closed drawer or fabric-covered pile should not become a charging station merely because it hides the wires.
11. Test one complete everyday routine
Choose an outfit, put it on, and return the items you handled. Notice whether you have to move a bin, dismantle a stack or reopen another drawer to finish. Change the awkward location while the problem is fresh.
12. Agree on the next review trigger
Choose a visible trigger: the rewear hangers are full, the chair receives a second garment, or the drawer no longer closes easily. Review that specific zone then. The trigger is more useful than an ambitious cleaning schedule you do not follow.
Worked Example: A Crowded Dressing Corner
This is an illustrative household scenario, not a tested room. The chair holds two bags, a clean sweatshirt, trousers needing washing and a cardigan intended for another wear. The nearby drawer contains daily socks mixed with occasional travel accessories.
Scroll sideways to read the full table.
| Item | Decision | Existing destination |
|---|---|---|
| Two bags | Keep one daily bag easy to return | Daily bag on an accessible shelf; occasional bag in its assigned wardrobe space |
| Clean sweatshirt | Return to regular storage | Its folded clothing shelf |
| Trousers needing washing | Launder according to care instructions | Existing hamper |
| Cardigan suitable for another wear | Use limited temporary storage | Assigned rewear space with support suitable for the garment |
| Travel accessories | Move occasional items out of daily space | Labeled travel kit elsewhere in the wardrobe |
The chair becomes usable through decisions and reassignment. No additional furniture is required. If these destinations cannot hold the items comfortably, the next task is reviewing their contents, rather than concealing the chair pile.
Your Before-and-After Record
Copy these four prompts into a note. Use observations from your room rather than comparing it with a staged photograph.
- Finish line: What must be usable when the reset is complete?
- Repeated obstacle: Which item is hardest to return, and why?
- Change made: What destination or category changed?
- Next check: Does the next dressing or bedtime routine work without moving a pile?
Troubleshooting Recurring Piles
The same clothes return to the chair: check whether their assigned location is full or inconvenient. Reduce the working collection or move the return point.
The drawer becomes crowded again: identify what entered it from another category. Labels will not help if the drawer has no spare capacity for its assigned belongings.
The room has no safe storage location: stop trying to fit everything into the reset. Review the collection or consult the separate storage-layout guide before adding furniture.
For furniture safety, follow manufacturer anchoring instructions and consult the CPSC furniture tip-over guidance. This reset does not replace installation requirements.