Kitchen utensils are essential, but spatulas, ladles, whisks, tongs, and wooden spoons can quickly crowd drawers and countertops. The best kitchen utensil storage ideas make every tool easy to reach while protecting valuable prep space and keeping the room visually calm.
Before buying organizers, sort your utensils by how often you use them and where each task happens. Keep everyday tools near the stove or main prep area, and move specialty pieces to a secondary drawer or cabinet. These practical ideas work in kitchens of many sizes and can be adapted to your existing layout.
1. Use a Divided Utensil Drawer
A divided drawer is one of the cleanest ways to organize flat utensils such as peelers, measuring spoons, serving pieces, and small whisks. Choose compartments that match the length of your tools instead of forcing everything into identical narrow slots.
Place the most frequently used items in the front sections and less-used tools toward the back. A non-slip liner beneath the organizer prevents shifting and makes the drawer easier to clean.
2. Place Everyday Tools in a Countertop Crock
A sturdy crock keeps wooden spoons, spatulas, and ladles within arm’s reach of the stove. Select a container with enough weight to stay stable and a wide opening that lets you remove one tool without pulling out several others.
Limit the crock to genuinely daily-use utensils. Leaving a little open space prevents the holder from looking crowded and helps tools dry properly after washing.
3. Install a Wall-Mounted Utensil Rail
A slim rail turns unused backsplash or wall space into practical storage. S-hooks can hold tongs, ladles, strainers, and other utensils with hanging holes while keeping the countertop clear.
Install the rail away from direct heat and splashes, and leave comfortable spacing between tools. Use secure hardware appropriate for the wall surface and confirm that every hook sits firmly before loading it.
4. Add Hooks Under an Upper Cabinet
The underside of an upper cabinet can hold lightweight utensils without using drawer space. Small hooks work especially well for measuring cups, kitchen shears with closed handles, or a compact set of frequently used tools.
Position hooks where hanging items will not interfere with food preparation. Keep the arrangement consistent and avoid overloading adhesive hooks beyond the manufacturer’s stated capacity.
5. Use a Deep Drawer for Long Tools
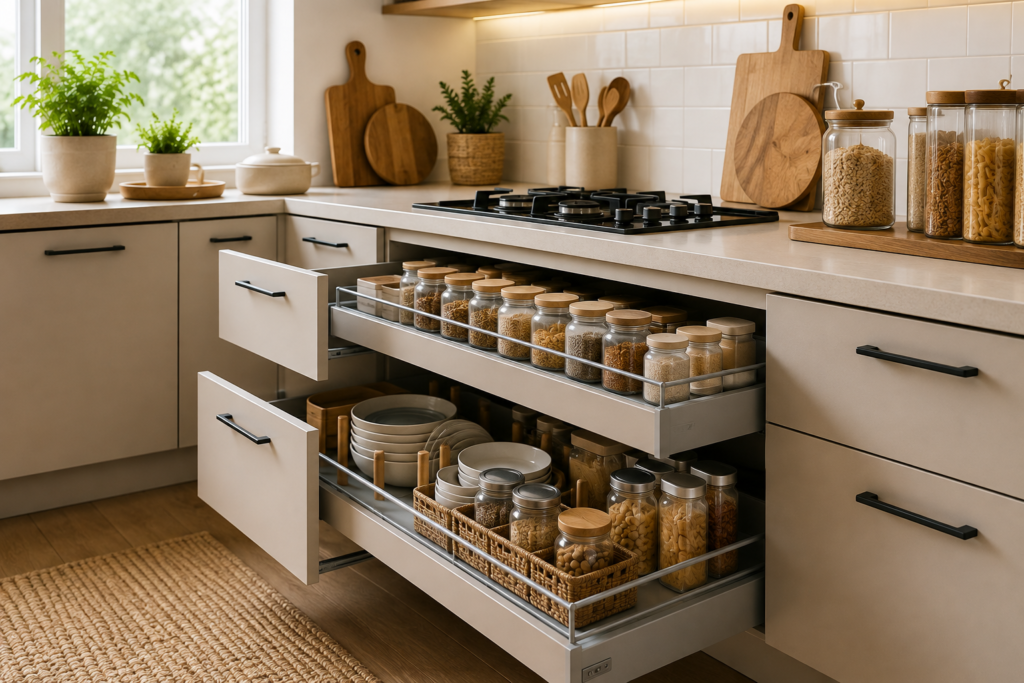
Long-handled utensils often become tangled in shallow drawers. A deep drawer fitted with vertical dividers or narrow bins allows spatulas, mashers, skimmers, and serving spoons to stand or lie in organized groups.
Arrange tools by function and keep handles pointing in the same direction. This simple visual order makes it faster to find what you need and prevents awkward utensils from blocking the drawer.
6. Create Cooking and Baking Zones
Separating cooking tools from baking tools reduces unnecessary searching. Keep spatulas, ladles, and tongs near the cooktop, while rolling pins, pastry brushes, and dough tools belong closer to the baking ingredients or mixer.
Zones also make shared kitchens easier to use because each group has a predictable home. For more ways to structure busy cabinets, explore these kitchen cabinet organization ideas.
7. Add an Expandable Drawer Organizer
An expandable organizer adjusts to the exact width of a drawer, minimizing wasted gaps along the sides. It is useful when standard trays are too small or when your utensil collection includes both short and long pieces.
Measure the drawer’s internal width, depth, and height before choosing one. Confirm that stacked tools will not catch on the cabinet frame when the drawer closes.
8. Store Specialty Utensils in Labeled Bins
Tools used only for grilling, holiday baking, or occasional entertaining do not need prime drawer space. Group each activity in a labeled bin and place it on a higher pantry or cabinet shelf.
Choose shallow, easy-to-lift containers so the contents remain visible. Clear labels such as “Grilling Tools” or “Baking Tools” prevent specialty pieces from drifting back into everyday drawers.
9. Use the Inside of a Cabinet Door
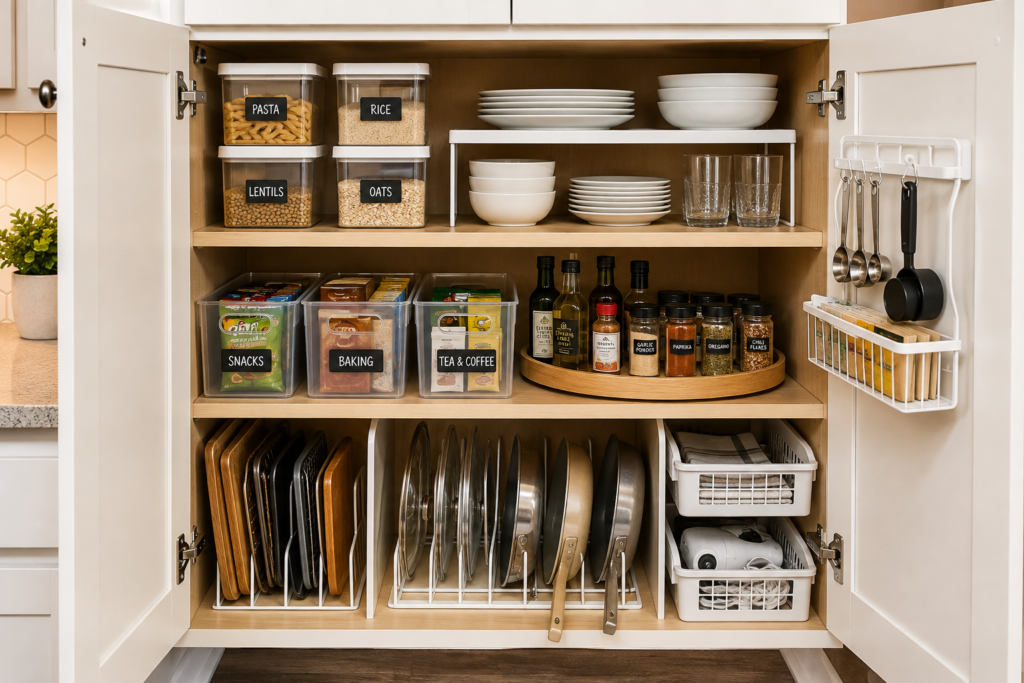
A narrow rack on the inside of a cabinet door can store measuring spoons, small strainers, or lightweight utensils. This hidden space is particularly useful in a compact kitchen where every drawer is already assigned.
Check shelf clearance before installing anything, and use short screws that cannot pierce the door front. Similar hidden-space strategies appear in our small kitchen appliance storage guide.
10. Try a Rotating Utensil Holder
A rotating holder provides quick access when you use several tools during cooking. Compartments help separate wooden utensils, silicone spatulas, and metal tools so handles do not become tangled.
Place it near the prep area rather than directly beside a hot burner. Choose a washable material and wipe the base regularly because countertop holders can collect cooking residue.
11. Keep Knives and Sharp Tools Separate
Sharp tools should never be mixed loosely with ordinary utensils. Use a knife block, magnetic strip installed securely, blade guards, or a dedicated in-drawer knife organizer to protect both hands and cutting edges.
Keep sharp utensils out of children’s reach and avoid placing them where someone must search by touch. Safe separation also makes the main utensil drawer calmer and easier to maintain.
12. Edit Your Utensil Collection Regularly
Even the best organizer cannot compensate for too many duplicates. Every few months, remove broken pieces, uncomfortable tools, and extras you never choose. Donate usable duplicates when appropriate.
Return each remaining utensil to a clearly defined home. A smaller, purposeful collection stays organized longer and creates more room for cooking rather than storage.
Quick Kitchen Utensil Organization Tips
- Measure drawers and cabinet clearances before buying organizers.
- Keep daily tools closest to their point of use.
- Separate sharp items and protect exposed blades.
- Use washable or wipe-clean storage near cooking areas.
- Leave breathing room so utensils are easy to remove and return.
Final Thoughts
Effective kitchen utensil storage is less about adding more containers and more about giving each useful tool the right location. Combine a well-divided drawer with one carefully edited countertop or wall solution, then move occasional items away from the main work zone.
Start with the most cluttered drawer and improve one area at a time. A simple system that matches how you cook will keep counters clearer, protect your tools, and make everyday meal preparation feel noticeably easier.
Kitchen Utensil Storage Ideas: Workflow Checklist
Place utensils according to task: cooking tools near the preparation zone, baking tools together, and sharp items in protected storage. Keep the most-used pieces visible without crowding the counter.
Measure drawer height before buying dividers and test that long handles do not catch when the drawer closes. Washable removable trays make crumbs and residue easier to manage.
Utensil Storage Mistakes to Avoid
Do not mix sharp blades with loose tools, overload countertop crocks, or store heat-sensitive utensils against the stove. Retire cracked or damaged tools that cannot be cleaned properly.
Combine this plan with our kitchen drawer organization ideas. The FoodSafety.gov four-step guidance covers cleaning and safe food handling.
Frequently Asked Questions
Which utensils should stay beside the stove?
Only frequently used, heat-appropriate cooking tools should remain nearby, positioned beyond burner heat and splatter. Store occasional tools in a drawer.
How many utensils belong in one crock?
Keep enough open space to remove one tool without pulling out several others. If the crock feels packed, divide tools by task or move occasional pieces to a drawer.