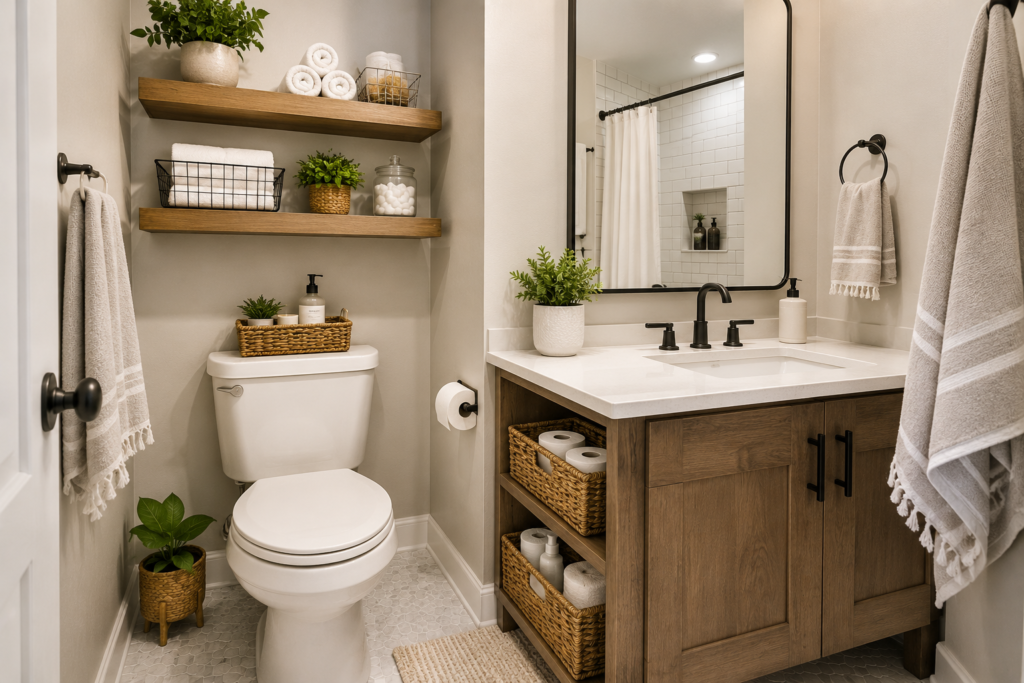
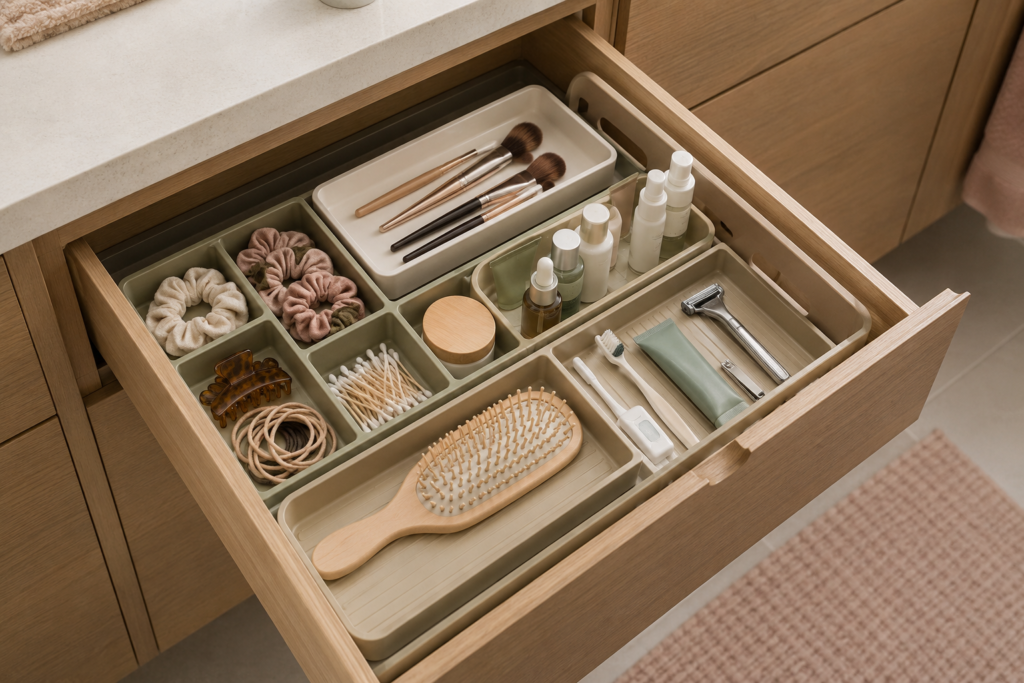
Bathroom drawers can become crowded with toiletries, grooming tools, makeup and everyday backups because many small items share a limited space. A practical layout keeps daily essentials visible while preventing duplicates from collecting at the back. These bathroom drawer organization ideas work for shallow vanity drawers, deep cabinet drawers and compact shared bathrooms.
- Empty and Clean Every Drawer
- Prioritize Daily Essentials
- Add Adjustable Dividers
- Use Shallow Modular Trays
- Create Layers in Deep Drawers
- Store Tall Items Vertically
- Separate Makeup by Routine
- Contain Hair Accessories
- Protect Grooming Tools
- Limit Backup Products
- Use Simple Labels
- Maintain a Monthly Reset
- Tray fit worksheet and worked example
1. Bathroom Drawer Organization Ideas: Empty and Clean Every Drawer
Remove every item so you can see the drawer’s true size and condition. Discard empty packaging and products that are expired, damaged or no longer used. Wipe the interior and allow it to dry fully before replacing anything. Measure the width, depth and height, including space needed for the drawer to close, before choosing trays or dividers.
2. Prioritize Daily Essentials
Place toothbrush supplies, skincare, deodorant and other daily products in the easiest-to-reach drawer. Occasional treatments, travel items and refills can sit lower or farther back. Organizing by frequency keeps the morning routine efficient and stops rarely used products from occupying prime space. Shared bathrooms can use a separate section for each person.
3. Add Adjustable Dividers
Adjustable dividers create clean lanes for combs, tubes, razors and brushes without requiring several separate containers. Position them so items lie in a single visible layer. Choose washable materials that can tolerate bathroom humidity. If a divider slides when the drawer opens, add removable non-slip liner beneath it rather than using permanent adhesive.
4. Use Shallow Modular Trays
Small modular trays are useful for lip balm, clips, dental floss and other pieces that disappear easily. Mix narrow and square shapes to fit the drawer instead of forcing one large organizer into an awkward space. Leave a little room around the trays so they can be removed for cleaning. Transparent or light-coloured inserts make small items easier to see.
5. Create Layers in Deep Drawers
Deep drawers often waste vertical space or encourage messy stacking. Use a removable top tray for everyday items and store less-used supplies beneath it in labelled containers. Another option is to stand small open bins side by side. Avoid heavy stacks that must be dismantled whenever you need the item at the bottom.
6. Store Tall Items Vertically
Deep drawers can hold bottles upright in narrow bins, provided there is enough clearance for the drawer to close. Group lotions, hair products and cleansers by routine. Check lids regularly and avoid overfilling containers that may tip. Products likely to leak can sit in a washable tray, making spills easier to contain and clean.
7. Separate Makeup by Routine
Keep frequently used makeup together in the order it is applied, while special-occasion products can occupy a separate tray. Store clean brushes where the bristles will not be crushed, and follow each product’s storage guidance. Removing unused shades and duplicate products creates more benefit than adding another organizer to an already full drawer.
8. Contain Hair Accessories
Use small lidded boxes or divided trays for elastic bands, pins, clips and scrunchies. Keep each type in its own compartment so pieces do not tangle. A narrow section can hold combs, while bulky brushes may fit better in a deeper drawer or nearby basket. Return accessories immediately after use to prevent them spreading across the counter.
9. Protect Grooming Tools
Store razors with blade covers and keep sharp grooming tools in a dedicated compartment away from children. Allow wet items to dry before placing them in a closed drawer. Hair tools should be unplugged and completely cool before storage; heat-resistant sleeves can protect surrounding items. Follow manufacturer instructions for electrical tools used near water.
10. Limit Backup Products
Choose one drawer section or small bin for unopened replacements and stop when that space is full. Arrange refills so the oldest is used first. Bulk packages can be stored outside the bathroom if humidity may affect them. For products that must remain on display, use our bathroom counter organization ideas to keep surfaces controlled.
11. Use Simple Labels
Labels are most helpful in shared or deep drawers where categories are not obvious. Use broad names such as Dental, Skincare, Hair or Travel rather than labelling every object. Place labels on the front edge of bins so they remain visible. A simple system is more likely to survive busy mornings than one with too many narrowly defined sections.
12. Maintain a Monthly Reset
Once a month, remove empty containers, wipe trays and return misplaced items to their sections. Check dates and product instructions before deciding what to keep. Medicines require particular care: the U.S. Food and Drug Administration advises following label storage directions and keeping medicines away from excessive heat and moisture. Review its guidance on safe medicine handling and disposal.
Bathroom Drawer Fit Worksheet: Test Trays With Products Inside
A tray can fit an empty drawer and still fail once bottles are loaded. Record the drawer’s internal width and depth, its narrowest access opening, and the lowest overhead clearance along the whole closing path. Account for plumbing cut-outs, runners and crossbars. Use the tray’s outside dimensions for fit and its inside dimensions for product capacity.
The following dimensions are illustrative. They show the decision process, not a measured vanity or a tested product recommendation.
Scroll sideways to read the full table.
| Check | Example | Decision |
|---|---|---|
| Two trays side by side | 20 + 20 cm outside width in a 40 cm drawer | No spare width. Do not assume an exact fit accommodates lips, tolerance or removal. |
| Alternative tray widths | 18 + 18 = 36 cm | 4 cm total remaining. Check the actual gap allocation and access opening. |
| Tray depth | 28 cm in 30 cm internal depth | 2 cm remains before accounting for any obstruction. |
| Loaded height | Bottle top is 10 cm above drawer base; lowest closing clearance is 9 cm | Fails by 1 cm. Use a different location or an appropriate laying-flat arrangement. |
| Daily bottle in alternative position | Measured loaded top is 7.5 cm above drawer base | 1.5 cm geometric clearance remains. Confirm operation and leak protection. |
Measure the top of the loaded item from the drawer base rather than adding container height and bottle height blindly: the bottle may sit inside the tray. Include liner thickness, protruding pump heads and anything that tilts when the drawer moves. Empty cardboard templates help compare footprints, but cannot prove weight capacity or loaded height.
Map one real routine before dividing the drawer
- Place only the dry, safe items used during a normal morning on a towel. Group them by person or sequence of use.
- Lay those actual items in the proposed zones before buying dividers. Keep covered sharp tools in secure storage where children cannot reach them.
- Keep one small refill zone separate from open daily products. Move overflow rather than stacking it over frequently used items.
- Put a washable spill tray under products that may leak. Follow each product’s directions before storing it on its side.
- Load the drawer and close it gently. Stop if anything touches, tips or catches. Adjust before trying again.
Record what fails during use
For the next few normal routines, note which product is left on the counter, which item requires removing another tray, and which divider moves. A product left outside because its bin is too deep needs a different position; another label will not fix the reach problem. Aim for direct access to the actual daily kit instead of creating a compartment for every possible category.
Medicines do not belong in a vanity simply because a tray has space. The FDA explains that heat and moisture in a bathroom can affect medicine storage. Follow the label and use an appropriate secure location. For the items that genuinely need to remain outside drawers, see our bathroom counter organization guide.
Protect Drawers From Moisture and Spills
Return only clean, dry tools and close every product firmly. Use a washable liner rather than paper that traps leaks. Do not store hot styling tools in a drawer until they are unplugged, cooled, and safe according to their instructions.
Twenty-Minute Reset
- Empty one drawer at a time.
- Remove empty, damaged, or unsuitable products.
- Clean and dry the drawer completely.
- Place daily items first and limit duplicates.
- Label broad categories that everyone can maintain.
Bathroom-Drawer Questions
How many dividers should I use?
Use only enough to stop frequent items mixing. Too many tiny sections waste space and make cleaning harder.
Should medicines stay in a bathroom drawer?
Follow each product’s storage directions and use secure storage. Heat and humidity may make a bathroom unsuitable.
How often should drawers be reviewed?
Check monthly and immediately after a leak or spill.
Mistakes That Make Drawers Harder to Use
- Buying trays before measuring the drawer.
- Keeping open products where they can leak into tools.
- Mixing backups with daily items until nothing is visible.
- Storing damp brushes or cloths in closed compartments.
- Giving every tiny item its own category.
When a divider stays empty but another section overflows, change the layout instead of forcing the original plan.
Test the finished drawer during a normal morning and evening routine. If two people reach across each other or a product is repeatedly left outside, move that category closer to its point of use rather than adding more compartments.
Final Thoughts
A functional bathroom drawer should make the daily routine quicker, not create another complicated system to maintain. Start by reducing duplicates, then use dividers and trays to keep each category visible in one layer. With a small backup limit and regular reset, even a compact vanity can stay orderly, clean and easy to share.