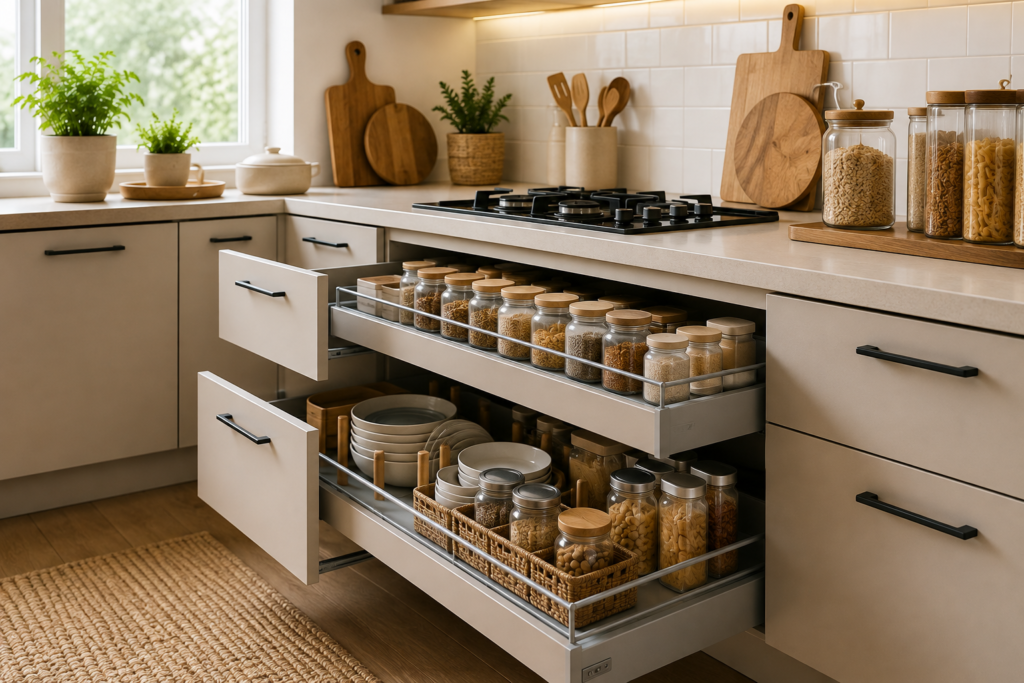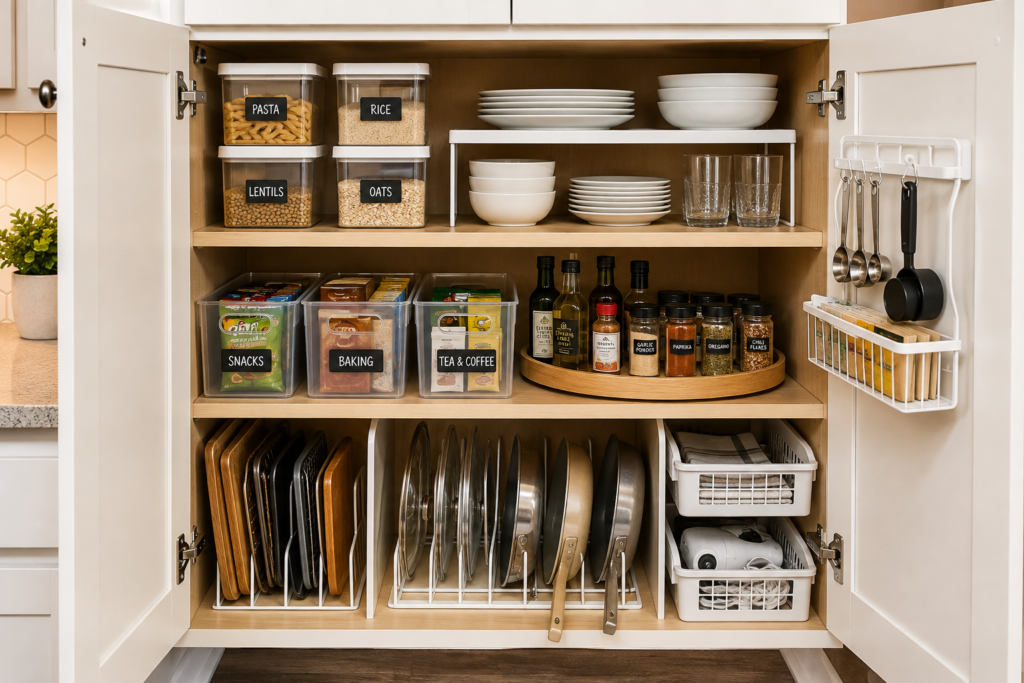
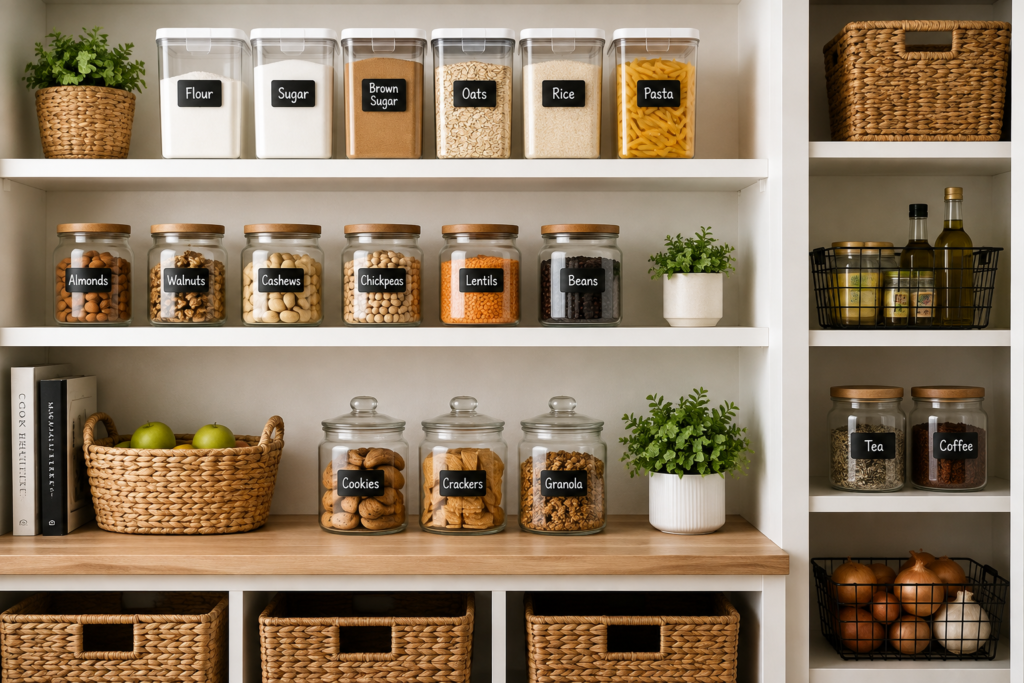
Coffee station ideas for small kitchens should make a daily drink easier without taking over valuable preparation space. A good setup groups the machine, cups, and a limited supply of ingredients in one safe, easy-to-clean zone.
Choose the location before buying organizers. The best coffee station ideas for small kitchens protect preparation space while keeping the daily setup convenient. The best coffee station ideas for small kitchens protect preparation space while keeping the daily setup convenient. Check outlet access, appliance clearances, heat and steam, then build upward only where shelves will not make pouring or cleaning awkward.
Table of Contents
- Choose a Practical Location
- Use a Compact Tray
- Mount a Mug Rack
- Add a Narrow Shelf
- Store Pods and Tea in Divided Bins
- Keep Sweeteners in Airtight Containers
- Create Space for the Kettle
- Protect the Counter From Heat
- Hide Cords Safely
- Add a Small Waste Container
- Use Labels for Guests
- Reset the Station Daily
- Coffee Station Ideas for Small Kitchens: Final Checklist
- Frequently Asked Questions
Choose a Practical Location
Place the station near an outlet, water source, and the mugs used most often. Keep it outside the main food-preparation lane so one person can make a drink without interrupting cooking.
Test the location during a normal morning. Cabinet doors, appliance lids, and nearby drawers should open without colliding.
Use a Compact Tray
A tray defines the station and catches stray grounds or drips. Choose one slightly larger than the machine but small enough to lift and wipe easily.
Use a washable, nonslip surface and avoid crowding ventilation openings. Keep only daily items on the tray.
Mount a Mug Rack
An under-cabinet rack or wall rail can free a shelf, provided the mugs hang securely and do not obstruct the counter.
Confirm the mounting surface, hardware capacity, and head clearance. Place heavier or rarely used mugs in a cabinet.
Add a Narrow Shelf
A shallow shelf can hold tea, filters, or a small row of mugs above the work surface. Its depth should not make reaching the machine awkward.
Mount it into suitable support and keep hot or breakable items away from the edge. Measure appliance lid clearance first.
Store Pods and Tea in Divided Bins
Separate coffee pods, tea bags, and filters by type in shallow divided containers. Clear labels help household members find options without opening every package.
Keep stock modest and rotate older items forward. Store products according to package directions and protect them from steam.
Keep Sweeteners in Airtight Containers
Sealed containers protect sugar and dry additions from humidity and pests. Label the contents and any dietary information clearly.
Use food-safe containers that are easy to wash and refill. Do not mix new supplies into an unclean container.
Create Space for the Kettle
Give the kettle a stable area with room to lift the lid and pour without reaching across other appliances. Fill it without trailing a cord near the sink.
Steam should not rise directly into a cabinet or shelf. Follow the manufacturer’s clearance and cleaning instructions.
Protect the Counter From Heat
Place hot appliances only on a surface approved for their heat output. A manufacturer-recommended heat-resistant mat may help protect vulnerable counters.
Never cover appliance vents or improvise with combustible materials. Allow equipment to cool before moving or storing it.
Hide Cords Safely
Shorten visual clutter with reusable cable ties or a cord channel positioned away from water and hot surfaces. Leave enough slack to operate the appliance normally.
Do not coil a hot cord tightly or use damaged extensions. Plug high-wattage appliances into suitable outlets as directed by the manufacturer.
Add a Small Waste Container
A small removable bin for wrappers and used pods keeps cleanup immediate. Empty it frequently so damp grounds and residue do not create odor.
Compost or recycle only where local rules and product materials allow. Wash and dry the container during the daily reset.
Use Labels for Guests
Simple labels for regular, decaf, tea, and sweeteners make the station self-explanatory. Include brief appliance instructions only when the controls are not intuitive.
Avoid decorative labels that obscure product information. Keep allergy and ingredient details visible on the original packaging.
Reset the Station Daily
Wipe spills, empty waste, rinse removable parts, and return supplies to their zones at the end of the day. A two-minute reset prevents buildup.
Follow the machine manual for deeper cleaning and descaling. For related storage, see our kitchen counter organization ideas.
Coffee Station Ideas for Small Kitchens: Final Checklist
Keep the machine ventilated, the cord away from water, and the counter clear enough to prepare a drink safely. Store only the supplies used regularly.
Review the station after one week. Remove duplicate tools, move slow-moving stock to a cabinet, and adjust the layout around the actual morning routine.
Frequently Asked Questions
How much counter space does a coffee station need?
Measure the appliance footprint plus the space required to open its lid, fill water, and place a cup. Manufacturer clearances matter more than a standard width.
Can a coffee maker sit under a wall cabinet?
Only when required ventilation and steam clearance are maintained. Pulling the appliance forward during use may help, but follow its manual.
How should coffee supplies be stored?
Keep dry ingredients sealed, labeled, and protected from heat and steam. The FDA food-storage guidance offers general safe-storage principles.